Showing posts with label 1920's Home Renovation. Show all posts

Wednesday, January 27, 2016

Ground Works: Drains and Foundations


After a three week break over Christmas and New Year, the build was back in action.  It is cold, wet and mucky.  And the guys just workedthrough it.

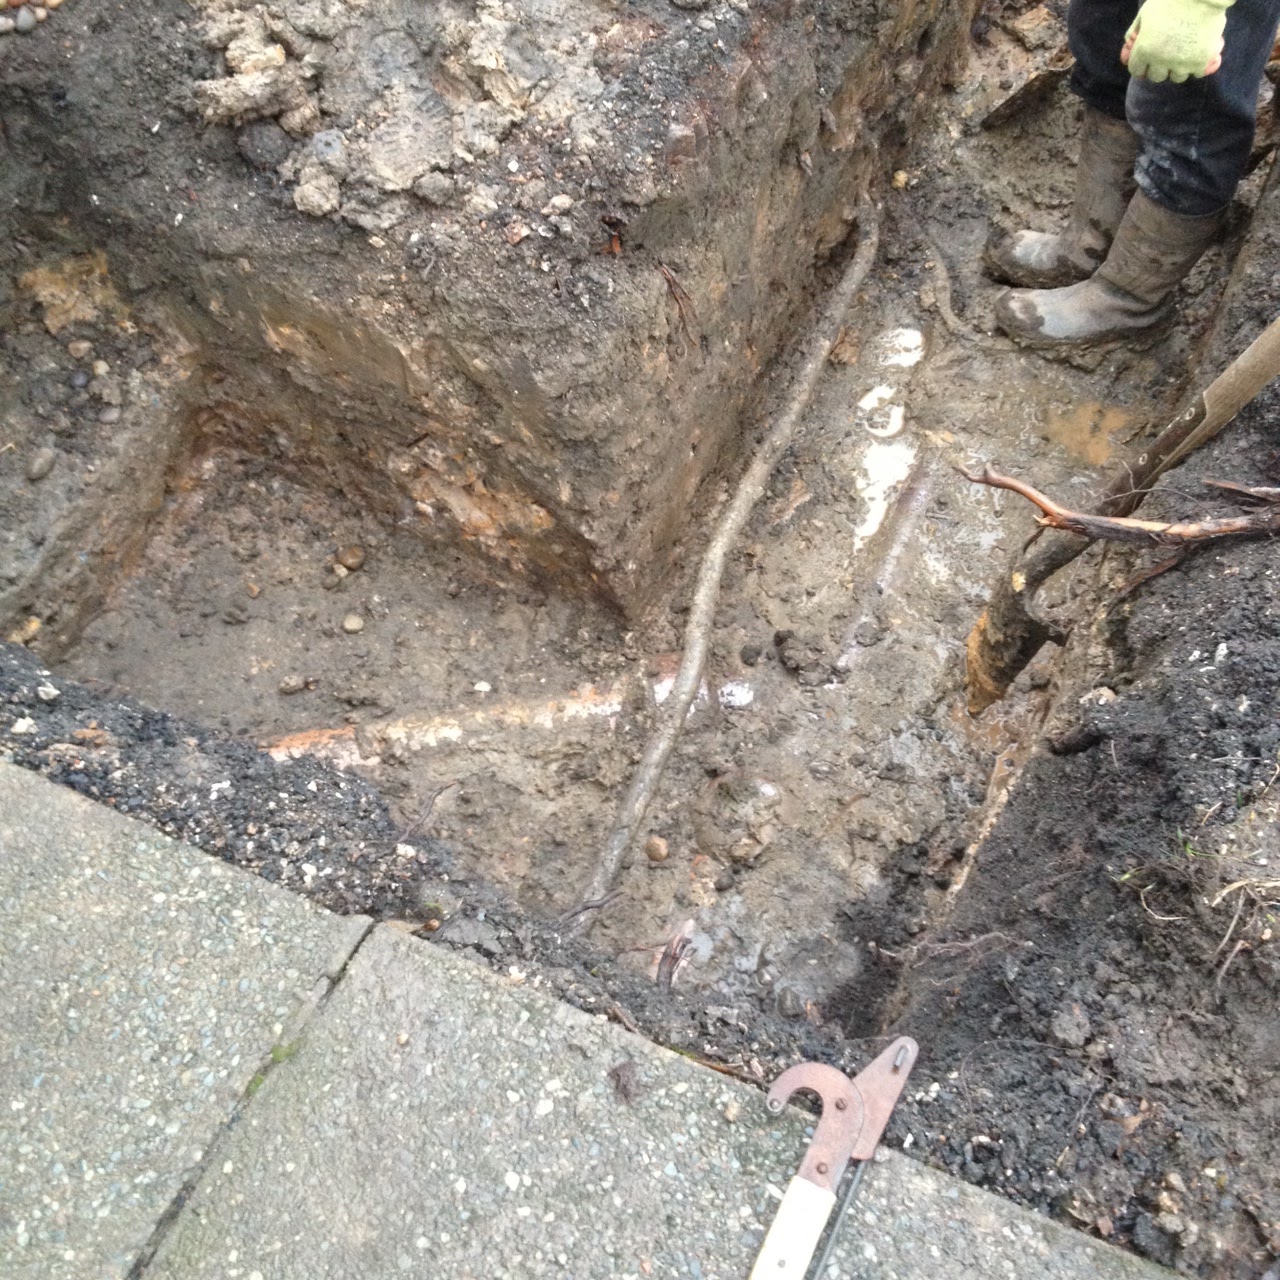
The existing drains ran horizontally through the new foundations, which the structural engineer said is a big no.  So the guys dug some trenches and rerouted the drains, including a lintel in the foundation bricks.  This was the last bit of the outer foundations that had to be poured before the bricks could be laid.


Foundations

The foundation brickwork took a day and a half, for two experienced bricklayers.  It's a double course, the interior will have the timber frame, and the exterior will have the (Building Control required) external block work.


The bricks were laid right on top of the cement that had been poured, which is hard to tell from the picture because it's so muddy.


This picture doesn't really show much either at first glance.  Except that the soil behind the wall is ground level.  The brick wall is on top of the concrete foundation, and the soil in front has already been mostly excavated.


Once the foundation brickwork was completed, the guys used a micro digger to excavate the solum.  It was about 20 cm (8 inches) in some places, 10 cm (4 inches) in others since our plot is on a slope.  You can see at the front wall they left an opening for the micro digger to exit.


And look!  The ground is prepped for the concrete slab to be laid.  (View to the rear of the extension)


They put in about seven tons of hardcore, compacting it every now and then.  Then sand, a damp proof membrane and insulation.  (View to the front of the extension.)  


The put steel on top of the insulation, and then because of the weather, it stayed like that for a week.


Last Friday (January 22, 2016...a day to remember because it was such nice weather) it finally was warm enough for the concrete to get poured.  They barrelled it in, one wheelbarrow after another.


And when they were done, we had a concrete slab.  We are out of the ground!  (View to the front of the extension.)


It looks like it's going to be another three weeks (mid February?) before the joiners will be on site to do the timber kit.  In the meantime, the concrete pad is supposedly curing.  It's seems to be turning into a swimming pool, with all the rain.  And the cat managed to leave his mark.


Drainage

Once the brick foundations were laid and the solum was excavated, the guys dug a trench for the access hatch.  This way, if there is any blockage down the line (please, no!!) then at least we have a straight line to clear the blockage.


Pipes placed, access chamber in situ, and the trench is filled in with the excavated soil.  I wasn't able to get photos of some of the drainage before it got buried, so I hope to get some from the builders in case Building Control asks.


We'll have a gutter and down pipe on the end of the extension, so they built that into the new drains as well.


The ground works to this point cost about £10K, around a quarter cost of the entire build budget.  Once the timber kit goes up, the extension will take shape!  


Saturday, December 19, 2015

Side Extension: Ground Works Week 1

As a reminder, we're in the process of building a single storey side extension off our house.  We had the garage demolished, and this week the ground works started.

When we first started talking about getting an extension, Niall sent me a link to a blog called Ten Square Metres.  Being a novice to building works in the UK, I found it fascinating.  It gave me some insight into what would be required.  In that build, a lot of it was DIY and took maybe a couple of years.  It gave me the idea that perhaps I could dig the foundations for our house myself.  


I honestly thought if I just dug a few hours a day, I could save us some ££.  But then I dug a 1 metre cubed hole (as a trial pit) for the structural engineer and decided that we'd pay for someone else to do the digging.  (It was hard!)   This is a photo of the trial hole, at a depth of about 83 cm.


The trial pit showed that the original house foundations were about a metre down, which meant the new foundations needed to be even deeper.  The ground works crew showed up on Tuesday and spent most of the day digging by hand to uncover the water and drain pipes.  On Wednesday, I spoke with Building Control, the builders and the structural engineer and they decided on a plan of action.  (Dig a new trench, divert the pipe and put in an access hatch.)


With the pipe unearthed, the rest of the foundation work went a lot faster.  The guys got most of the foundations dug on Wednesday and finished on Thursday.  JCB's make work go such much faster!
  

One thing I continue to miscalculate is the amount (and cost of removing) of unwanted debris.  


There was so much soil that it would have taken two regular skips (dumpsters) that fit in our drive or a large one, that would not have fit on our drive.   A street permit can take up to a week from Glasgow Council, so the soil piled up in our drive and then a truck with a grabber hauled it all away.


And we were left with a moat around the side of our house.


The guys filled it in with Level 1 Hardcore.  (This will be a bit of a photo dump.  Glasgow Council is understaffed at the best of times, but given its almost Christmas and they had a technical mishap this week, there was no chance of getting an inspector, so we'll be relying on photographic evidence if required when it comes time for getting the building certificate.)


And then they put in the steel to reinforce the concrete.


After the New Year, they'll come back and dig out the new runs for the pipes, so for now the section with the pipework is not getting filled in with concrete and aggregate until later.


Today (Friday) the premixed concrete showed up.  The guys wheeled it and poured it into the foundations.  It was a source of entertainment!


The guys were so fast with their wheelbarrows.  There were three running back and forth (I assume they didn't shoot it in due to distance or cost?)  Pretty soon the concrete was up to the right level.


So now the foundations are poured, they're 'covered' and they going to cure over the next two weeks, until after the holidays.


My understanding is the Ground Works team will come in and dig the new run for the pipework and the bricklayer is going to come in and build up brickwork to ground level.

Sunday, June 16, 2013

Then and Now: Hallways

I like the hallways in the house so much, probably because they're so wide.   They were one of the things that made me think the house would work for us. There is a large alcove next to the front door that leaves room for storage. (Something we did not have in our previous house.)


We had the joiners build in a coat closet (and they made concertina doors from the former closet in the Large Bedroom.)   It's built so cleverly, yet another reason shopfitters were a great choice for this renovation.  We also put in a new (well, second hand) front door and had the glass in the doorway replaced with some that won't shatter into tiny shards if it ever breaks.  The beading around the door (on the right side) just got replaced and we still need to paint it.


The stairs are wide.  And the little landing near the top leaves us a good option if we decide to extend and have a bedroom built on the side of the house.  (Effectively knocking through where the window is now.)


We haven't finished the stairs all the way, but this is how they look now.  Believe it or not, the hard work has been done.  (Paint removed, treads sanded back and varnished, and the risers and sides have been sanded and prepped to be painted.)


The view looking up to the top floor landing, on our first viewing.


And how it looks now.

Looking down the hall to the front two bedrooms.


Niall was right, we do like having the yellow hallway.


We had the joiners add wooden balls to the newel posts on the banister.  


And we're pleased with the result!  (Annette, if you read this post, there is one of the hallway runners.  They've worked really well so far.  Thanks!)


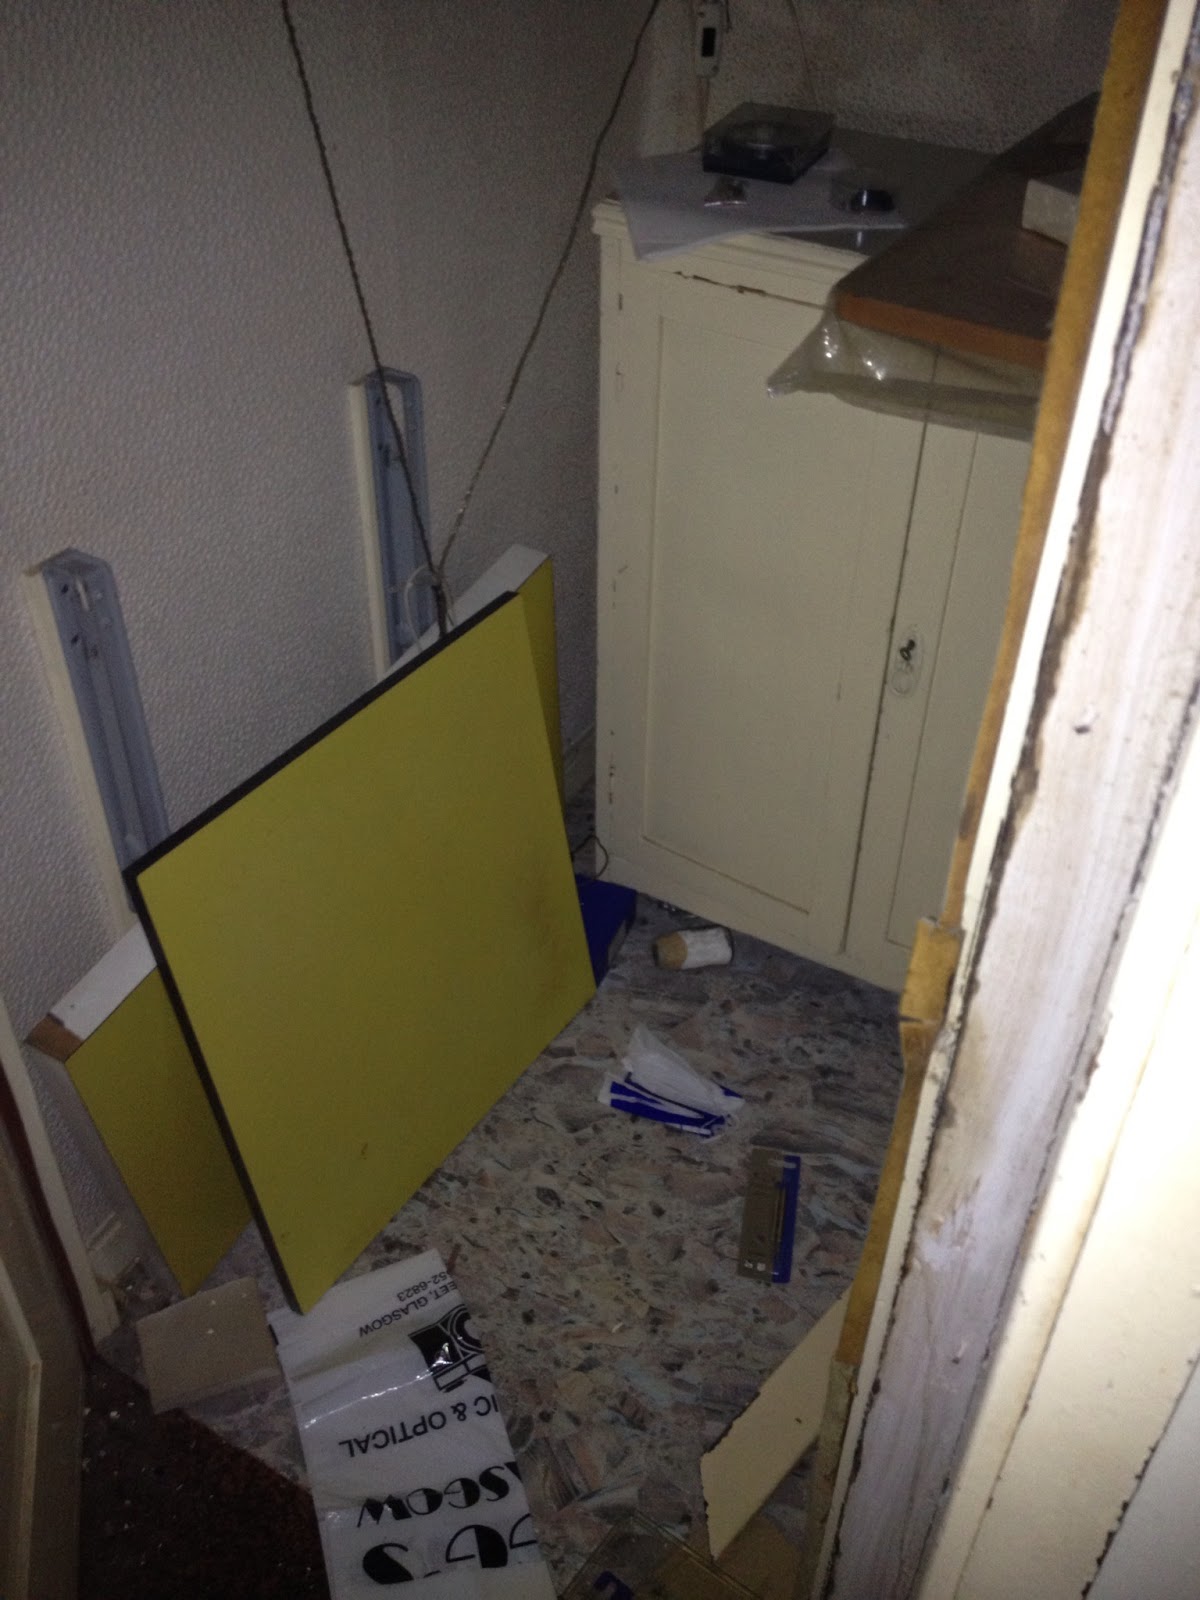
Next to the bathroom is a hall closet.  Maybe it was originally an airing cupboard?


We didn't ever get a very good photo, but the closet had been used by the former owners for photography.  (Maybe a bit of a dark room?)


We have converted it into a utility closet.  It's so nice to do the laundry upstairs.  I can do it while the kids bathe and then throw in a load of what they wore that day.  Making the change was a bit of a faff.  We had to pay and get permission from the Council to put it in (part of the Building Warrant.)  The joiners reinforced the floor and they purposely over-siliconed a false floor to absorb the vibration from the washing machine.  We have a vent through the roof and an electric fan and light wired, with the switch inside the door.  I had to special order a drip pan for the washing machine.

It brings me great delight to have a designated space for laundry, rather than having the washing machine plumbed into the kitchen.  We do have an iron, but still no ironing board.  (And I don't have any plans to get one in the near future.  Ugh.  I detest ironing.)     Above the dryer (and out of the picture shot) there are a couple of shelves where we can store laundry and bathroom supplies.


This week we finally got delivery of this mail/key holder.  I put it up within about 30 minutes of the postman bringing it.  I can't tell you how many times I've misplaced my keys since we've moved in.  Since installing a designated key holder I've haven't lost them yet!  (But I'm sure I will soon.)


Thursday, June 13, 2013

Then and Now: Bathroom

A friend (Hi Tammy!) asked if we liked the Cardiff house or the Glasgow house better. To be honest, I'm not sure. Both houses are lovely and I'm just glad that we get to live in one of them. I'm pretty sure Niall will say Glasgow, but the location has a lot to do with it. However, when it comes to bathrooms, I definitely like the Glasgow one better.

It didn't start out as much to look at.  Just the typical three piece suite, in less than ideal condition.


But now I really like it.


I realize now the bathtub was beyond saving, but I seriously considered trying to save this guy.  We ended up kicking it to the curb, and about two minutes later got the Mr. Metal to come and collect it for scrap.  (It was steel and HEAVY.)


The new tub is extra wide (at least for a UK tub) and as long as we could possibly fit in the space.  At the suggestion of the plumbers, we have the bath taps on one end and the shower head and controls on the other.


If you (like us) don't have room for a separate shower, having the tub taps and shower head on opposite sides is nice way to go.  

And do you see the shelf under the shower head?  It may not look like much, but it is one of my favorite things.  It's long enough to hold all the bits and bobs and deep enough to hold the shampoo bottles.  Niall had to drive to a random post office Rutherglen (about 20 minutes away) to get it, but it was worth the trip.  (Especially since I didn't have to make it.)


When we first looked at the house, I genuinely thought there had been a fire in the bathroom.  But (maybe this is even worse?) the black on the ceiling was mold.  Delicious.


I'm an happy to report the mold is gone.  (Looking at the picture above makes me feel like I should go clean the ceiling one more time just to make sure it really is mold free.)


When we knocked down the fireplace and took out the wall we had this temporary view into the bathroom.


When the wall was rebuilt, we got about 12 inches of extra room in the bathroom.  It may not sound that big, but I feel like it makes a difference.


For example, now we have room for this fancy radiator!  (It's behind the door, and we bought it with the money we made on ebay selling things left behind in the house and garage by the previous owners.)  The bathroom walls are painted in our favorite mis-tint blue.  (Also making appearances in the back bedroom and kitchen.)  I'd mentioned the floor previously, but as a reminder the tiles are Edwardian reproduction ones from Vives.


I'd mentioned it before, but we had special toilet seats installed for the kids.  One month in and they're still a hit with our three year old.  (That's the plumber's shoe.  And the brown cabinet is no longer next to the toilet.  But the point is there is room for it.  Okay.  I'll stop harping on about the extra 12 inches.)


Just kidding.  The extra 12 inches took the room from this size...


To this.  (And the mirror above the toilet is the original mirror from the bathroom.  I love it.)


Sorry, UK.  But one thing I don't understand is the bathtubs here.  Why does it seem that all the non-claw foot baths have to have some sort of panel put on the front?  I didn't want a plastic one.  We couldn't decide on a tile or wood one.  So we settled on a mirror bath panel.  The joiner put in plywood with panels cut in case we ever have to access the pipes.  We had a glazier special cut the mirror for us (with beveled safety glass) and the joiner installed it.  Time will tell.  I like how it looks, but I don't know how functional it will be.  (So far so good.  It is installed with eight pre-drilled holes and special glass screws.)