Showing posts with label Loft Conversion. Show all posts

Wednesday, March 26, 2014

Loft Conversion: Week One


Happy to report that work is underway.  It has been a messy, cold few days, but things are progressing.

The guys have been so good about trying to keep the house livable while the work is going on.

Day 1:  Floors and doors covered in sheeting.  'Tent' around the downstairs hall put up to cut down on debris and dust spreading.  Since there is some major structural work going on, the house had to be propped up on the ground floor and the first floor (that's second floor to us Yanks.)


From what I gather, the first week was the most painful/invasive.  So the worst is behind us.  The lathe and plaster ceiling came down.


So did a portion of the floor joists.  Then some major reinforcements went in, including a flitch.  (I think it's a steal beam with wood on either side.)  The new structure has to be able to hold an entire stairway, the weight of the roof and the loft floor, which wasn't originally designed for habitation.

Out came the insulation and in came drafts and cold.  Wow, what a difference.  It makes me glad that we insulated the roof so much in Phase I.


The plan was to open the roof for the dormer in Week 1, so the scaffolding (all £850 of it) got erected. Last week was dreary, wet and cold.   On the day of the roof opening is was rainy.  Very rainy and windy.  So the roof stayed on over the weekend.


On Monday the roof got opened, and the guys framed out the dormer.


And we had a big hole with a very nice view!


Panorama of the loft.


The dormer walls and roof are framed and have plywood, ready for the roofer and window.  Tomorrow the guys are going to start framing out the internal walls.  And the insulation is back!

Wednesday, May 25, 2011

Loft Conversion Part 2


In the Loft Conversion Part 1 the attic went from this


To this


That was the hard part of the renovation and it took all of our money.  We focused on getting the rest of the house unpacked and in order. For the past few months we've been putting all the items without a home in the loft.

To get the attic finished, we sold anything we could think of (including some GS stock I was saving for a rainy day) to raise the extra money.  I love ebay.  It's amazing how much we sold and what people were willing to pay!


We got a carpenter in to put in skirting/baseboards, doors to cover the storage under the eaves and shelves.  The carpenter would work during the day and at night I'd paint.  One day the missionaries from church came and helped and pretty soon the loft looked like this.


Almost done, but so much stuff to unpack.  Including boxes and boxes of books.


We don't have enough cash for proper flooring, so we decided to sand and paint the chipboard that makes up the loft floor.  I started by taping, cleaning, filling holes and seams, sanding and painting the edges.  This took a long time because there was so much plaster that needed to be cleaned off the floor.  And the sanding!  I only did a light sand to smooth the chipboard, but I did it by hand.  Major workout.  The first coat pulled up the wood fibers so I did a light sand (by hand again, after cleaning sanding dust for months I'm done with electric sanders inside) and did a second coat.


Most of the boxes upstairs were books.  The shelves the carpenter put in were not sufficient (Niall has A LOT of books) so I made bookcases.  The space was a really awkward size and I couldn't find any pre-fab bookcases that would fit.  Plus it was less than 40 pounds to make them myself using furniture board.


We unpacked the books.


And went through the rest of the boxes, and suddenly (you know, after hours of working on it) the loft floor was clear. 


I did more cleaning, scraping, filling and sanding.


Originally I wanted to do a stencil but Niall wasn't sure about it.  I know it was our choice to do so much work on the house ourselves, but I'm pretty sick of it.  Plus the stairs still need to be finished.  So no stencil right now.

I may have shed a few tears as I finished prepping the floor to paint.  Prep work for painting takes so much longer than painting!


Niall stepped in to paint the rest of the floor.  We used Ronseal Slate Floorpaint and I was so happy it didn't make me vomit.  (Since I have problems with solvents I tried finding an eco-friendly version.  But floor paint needs to harden, and solvent free eco-friendly paint would not do.)

As a side note, Ronseal was so helpful.  I called them before painting to check that our process would be okay and didn't need a primer.


Here's the final product, a rather empty room with a lot of books.  We're pleasantly surprised at how nice the painted chipboard is.  The plan is to find a desk that Niall loves and make this the office.  And in time, a guest room.  So, seriously, who is coming to visit?

Sunday, May 15, 2011

Loft Conversion Part 1

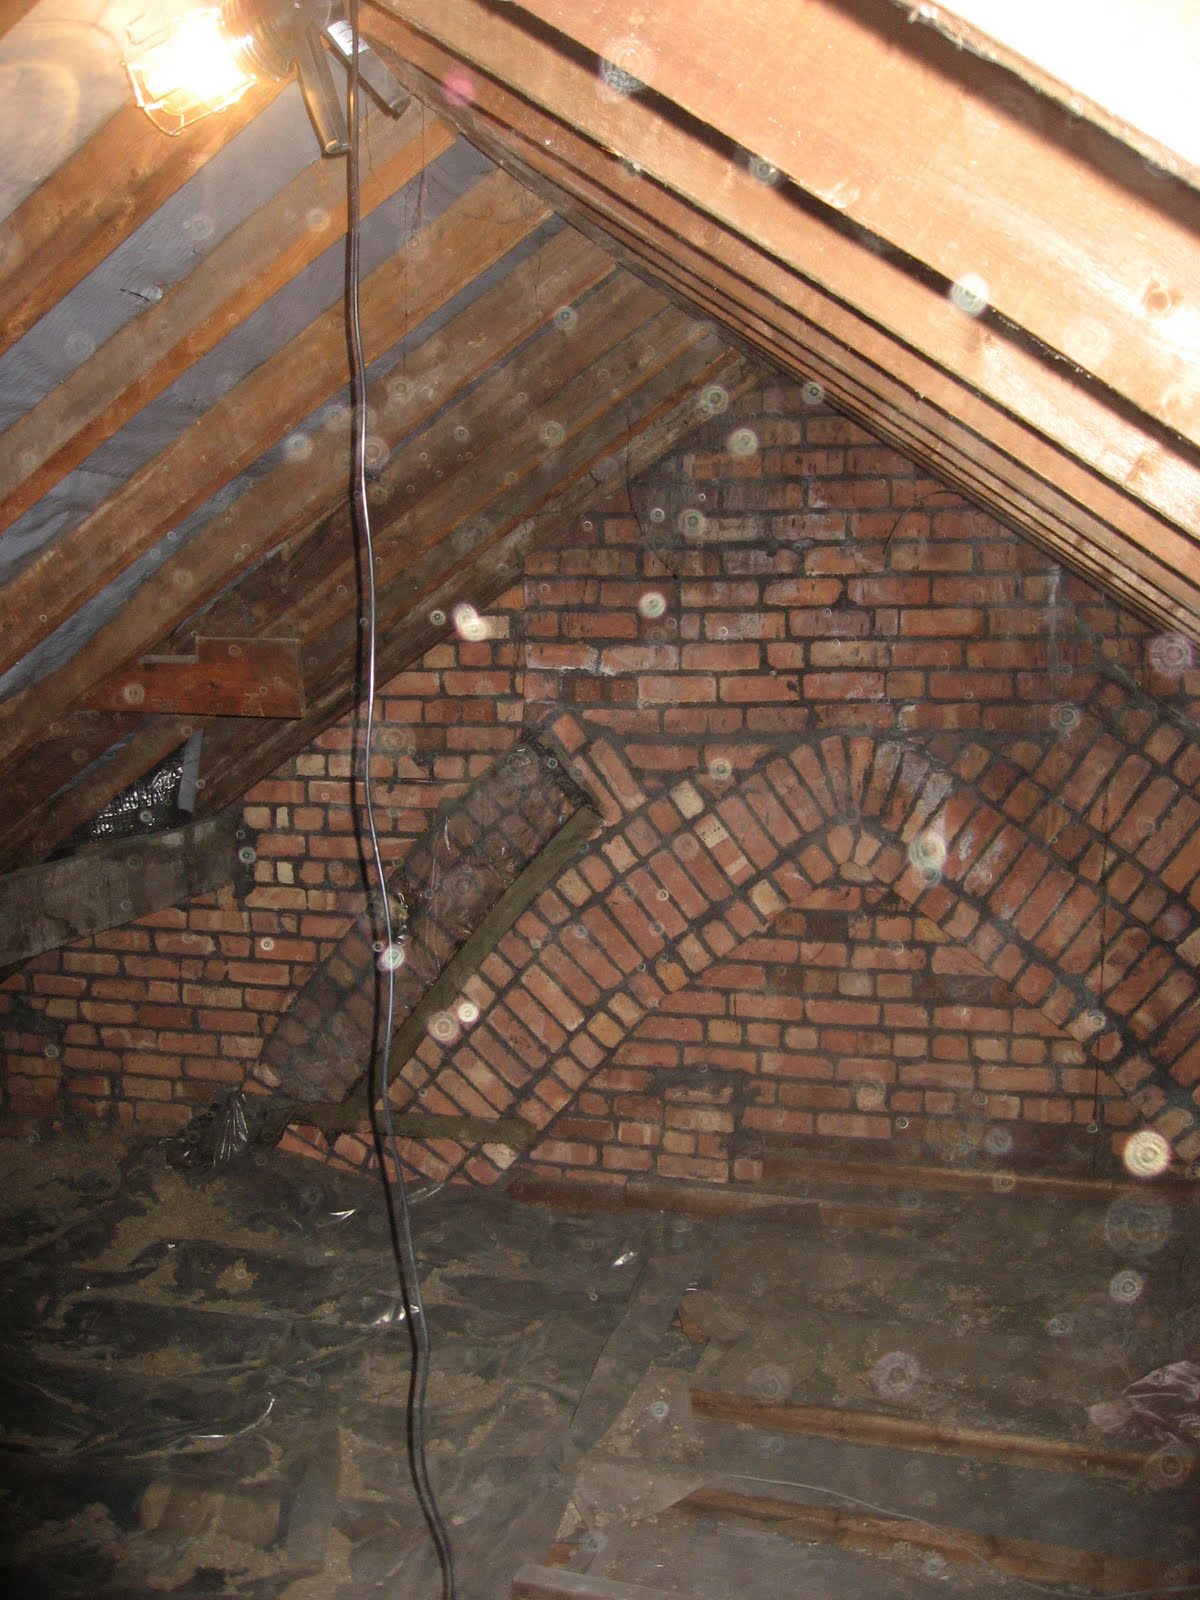
We bought our home with the intention of converting the loft into a usable space.  We got an architect and started cleaning out the attic/loft in preparation.  There was so much left in the attic from previous owners!  (We bought the house through an auction so we got it as is, contents included.)  We filled a skip/dumpster, gave away loads on freecycle, sold some things on ebay and kept a few items.  We were left with this.


A very dusty, leaky attic with a lot of potential.


I spent several Saturdays up in that cold, dark, dirty attic clearing out old insulation and debris. Niall would watch the baby and help clear out the bags of garbage when I dropped them through the loft access hole. On a typical Saturday we'd clear out about this much.  (Yes, those are dust particles in the air.  It was messy work.)


We got planning permission to add a dormer (extending the head height, making way for a shower room) but it ended up being way too expensive to go the dormer route.  We decided to do the conversion without a dormer. One unique thing about the houses on our street is (for whatever reason) the upstairs ceiling (what would be the loft floor) is built on two levels.  See how just behind the light in the photo below there's a step down of about six inches?  It's a big problem if you're trying to build a level floor and maximize head height!


Things started from the top and worked their way down.  First thing to tackle was the roof.  The roofers took off the old (asbestos, unfortunately) and put in a new roof with two Velux windows.


The architect and structural engineer said the ceiling had to come down.  It's what the neighbors with their loft conversion had to do.  So down came the ceiling.  It's probably a good time to mention we fortunately were living in a rental house while all of this was going down.


I think it was around this time Niall said we owed the house an apology for ripping it apart.  He was probably right.  Sorry house!


With the old ceiling gone, the carpenters moved forward with putting in a proper reinforced loft floor.  (We had to get party wall agreements with the neighbors to put in the new beams.)


And the new ceiling/floor was framed.


The loft floor was was laid.


Originally, this point is where budget wise we had agreed with the builder to go.  The plan was to stop here and finish the rest of the loft when I went back to work and we had more money.   But after some thought and tweaking our finances we decided to go for broke (literally) and finish up as much of the house as we could before we moved in.


So my insulation dreams (I love warm) started coming true.  Insulation went in the roof.


Two layers, actually.


And insulation got added to the loft floor/upstairs ceiling.


The carpenter boxed in the loft room, leaving storage in the eaves.


And the plasterboard went over the insulation.


And over the chimney.  We asked the plasters to box around the chimney, rather than over it, so we'd still have the original shape.  (But not the cold of the exposed brick.)


And a hole marked where the stairs would go.


And finally, stairs to the loft!


When we moved in, the loft basically looked like this (but the walls had been skimmed with plaster.) 


Hurray!  The expensive/hard work was done.  But there's still more.  We've sold a few things to get some extra cash and are putting in a lot of hours for the final push to make this room habitable.  I'll post part 2 when we're done. Here's what the loft looked like a few days ago.