Saturday, April 19, 2014

Loft Conversion: Week Four

The work actually took a week and three days, but at any count, here's the update.

The stairs (even with the newel post dilemma) were a welcome change from the pull-down loft ladder.  You may notice the bedroom door on the left is missing.  All the doors had to be removed and retrofitted to make them 30-minute fire doors.


The guys taped off and sprayed a good portion of the upstairs white.


The door to the loft went in, just needing the facing, glass and doorknob to be added later.


The skip (full to the brim) was carted away.  Farewell skip!


For the first Saturday in weeks, the guys weren't here working.  Niall took the girls up to see his parents and I spent twelve hours trying to get the house organized.  The back bedroom has been the store-all room.  It was like this:


But by Saturday afternoon had been pretty well cleared out.  The king size bed we've had as a guest bed wouldn't fit up the new loft stairs, so I sold it.


The loft was almost ready to move into, so I took all the junk up.  Making the room look junky.


The en-suite door went in (sans glass) and the carpet was laid all the way out to the landing.


I took the paper off the pine stair treads, did another sand and then we did the first seal.  (Niall did that, but 9 PM I was too tired to do anything more.)


Also, before the scaffolding went down, Niall went up and took this video of the dormer.


And then Captain Supercat manned the scaffolder's truck.

Loft Conversion: Week Three

Week Three was magical for us.  Because we were off enjoying Disneyland Paris.  And the guys stayed behind and worked full-out on the house.  There were a few nights where they were there until midnight.  The stairs went in, first fix on electrics as well as plastering and painting.

The big drama, which we missed, has to do with the newel post for the new stair.  See how it's nice and bulky?  Unfortunately, it took up too much head height of the stair below.  Which is against building regs.


You can't really tell from this picture, either, but you can see Kenny's head (on the stairs) an that the newel post comes down far too low.
Even with detailed architectural plans, structural engineer drawings and stair expert geometry worked out in CAD, things don't always work as expected.  We missed the (I imagine intense) discussions about how to fix the issue.  Originally it was going to be an expensive, timely and dirty fix.  (Involved moving a doorway/rearranging a wall.)  But the joiners came up with a creative fix, which I'll get into in the next post.

At any rate, when we came home at the end of Week Three (sorry, not a lot of pictures...because we weren't there!) the loft conversion had gone from building site back to almost home.  It was as nice transition.

Loft Conversion: Week Two

Messy, cold and probably the low point of the conversion was week two.  But it's done and, uh, dusted.  I kept telling myself if we could just get through week two the rest would be easy sailing.


The dormer got framed.


It was covered and the window opening had ply.  It was such a cold few days, I had new respect for the roofers.  Did attempt to get photos, but it was too much of a faff, really.


With all the debris and dust and an uncapped down pipe, we ran into some unplanned plumbing surprises.  Our (only) bathtub and bathroom sink back-filled with dirty water.  The pipes couldn't handle the pressure, and started leaking through the ceiling, down the wall and into the kitchen.  Fun times.  The immediate solution was to cut the pipe, which relieved the pressure.  It also sent a spray down the side of the house, and left any water from the bathtub, sink or washing machine running down the back of our house, into our garden and over to our neighbors.


Short-term save.  The dirty water drained out onto the back of the house, leaving only dirt.  Basically, it mean no bathing or laundry until the plumber could fix the problem.


The dormer got insulated, the window went in as well as the new reinforced floor.  (It will make up part of the stairway and landing.


With no working bathtub, the baby got a bath in the sink.  And we showered at the gym.  Luckily, at the end of Week Two we left on a (planned and intentional) vacation.  Which meant we got to fly away and enjoy the sunshine in France and bathe in a clean tub while the builders were busy working away.


Wednesday, March 26, 2014

Loft Conversion: Week One


Happy to report that work is underway.  It has been a messy, cold few days, but things are progressing.

The guys have been so good about trying to keep the house livable while the work is going on.

Day 1:  Floors and doors covered in sheeting.  'Tent' around the downstairs hall put up to cut down on debris and dust spreading.  Since there is some major structural work going on, the house had to be propped up on the ground floor and the first floor (that's second floor to us Yanks.)


From what I gather, the first week was the most painful/invasive.  So the worst is behind us.  The lathe and plaster ceiling came down.


So did a portion of the floor joists.  Then some major reinforcements went in, including a flitch.  (I think it's a steal beam with wood on either side.)  The new structure has to be able to hold an entire stairway, the weight of the roof and the loft floor, which wasn't originally designed for habitation.

Out came the insulation and in came drafts and cold.  Wow, what a difference.  It makes me glad that we insulated the roof so much in Phase I.


The plan was to open the roof for the dormer in Week 1, so the scaffolding (all £850 of it) got erected. Last week was dreary, wet and cold.   On the day of the roof opening is was rainy.  Very rainy and windy.  So the roof stayed on over the weekend.


On Monday the roof got opened, and the guys framed out the dormer.


And we had a big hole with a very nice view!


Panorama of the loft.


The dormer walls and roof are framed and have plywood, ready for the roofer and window.  Tomorrow the guys are going to start framing out the internal walls.  And the insulation is back!

Saturday, March 8, 2014

Phase II Loft Conversion-We're Almost Starting

Last June (a few weeks after we moved into the house, also nine months ago) we started seriously planning the loft conversion.  When we did Phase I (the renovation), we did some loft work.  (And by we, I mean we paid for it and the pros did the hard work.)  We reinforced the floors, put in a big roof window (Velux), and properly insulated the roof, at a cost of £7,558.  As a reminder, here's what the attic looks like currently.


It's such a great space, but it is a pain using the pull-down ladder to get to it.  One up, there's a huge hole with a ten-foot drop down to the floor below.  Our little girls (age 1 and 3, if you recall) are ever so keen to go climbing.  And they love to run around, but the hole gives me serious anxiety.  So the room is only usable once they are asleep or under VERY close supervision.


The actual loft conversion, the next phase, is more costly (just over £23.5 K including design, planning and the build) and structurally involved; adding a dormer, stairs and an en-suite shower room.

We're scheduled to start on March 17!!

Design and Planning

Here's how the timeline has played out so far:

  • Three (3) Months Design (June-August 2013):  We met with our architect and started talking to planning in June.  It took a few months (and a few meetings with planning) to get a design we were okay with and Glasgow Council said would likely get approved.
  • Two (2) Months Planning Consent (September-October 2013):  It took us about eight weeks to get planning approval for the dormer.  
  • Four and a half (4.5!) Months Building Consent (October 2014 to February 2014):  In Scotland you have to get a building warrant before starting structural works.  We submitted this concurrently with planning, and thought we'd have the build finished before Christmas.  Wrong!  Glasgow Council has substantially cut back their staff, so our application was not even initially reviewed until eight weeks after we'd submitted it.  Other (small) questions took ages to answer.  Ugh.  It was a frustrating process, but we were so happy to hear we were approved on Feb. 24 that we could get started.
  • One (1) Month Build work (March-April 2014):  The builders think it should take four weeks to get the loft into shape.  Here's hoping, because we have guests coming April 19th.  But, as is building work, we've warned them they may be coming to a construction zone.

When we put in our planning application, we also put in plans for a side extension (Phase III).  Submitting both together (loft + extension) will hopefully save time and money in the long run.  The side extension at least a year away, but also received approval.  Our architect put this 3-D rendering together, as the planners were having a hard time understanding his vision for the extension.  (Sorry about the weird cropping, I'm not great at doing a non-rectangular crop in pdf to jpeg, so this is what you get.)


The Design/Planning phase of the loft conversion cost just over £3,000.  (Design, surveyors, and fees for Planning and Building Control.)

Tender and Preparation

Our Quantity Surveyor, poor guy.  He has been really good and super supportive through this whole drawn out process.  Surprise!  The build is coming in higher than we planned; 5% higher than we even had in the bank for the project.  Our QS  helped us get four difference quotes and worked with the contractor we're actually using to help get the budget to a place that we can manage.  (Fingers crossed!)  
All in, we think we're going to spend £31,000 on the extension.  Costly for one room!

What we're aiming for is to get a set of stairs (rather than a pull-down ladder) up to the attic space.  Because of the pitch of our roof, we need a dormer on the side of the house to give us the head height for the stairs.  So, our roof is supposed to end up looking like this:


And if you could cut our house in half and look in, the actual attic space is going to be turned into a bedroom and an en-suite shower room.  Neither is huge, but we like how (we think) it will look and work for our family.  (Both of these are screenshots of a Sketchup mock our architect put together.)


Last night I did a fairly pathetic Sketchup of the shower room. The en suite is small, but adequate.   Niall and I are searching like mad, sourcing the bargain fittings for the bathroom.  (Anyone know of a good vanity, cheap?)


It is going to be messy here for the next while, and yesterday was the kick-off.  Since the work is beginning in just over a week, we're cleaning out the attic and storing it elsewhere.  I have done several major clean-outs over the past nine months.  It's still shocking to see how much 'needed' stuff we have shoved up there!  Next up is transporting Niall's large collection of books and papers from the loft to his office on campus.


Fingers crossed!  Nine days and counting...

Tuesday, November 5, 2013

Monochromatic Portrait

Once upon a time I used to paint things other than walls and furniture.  Things like canvas, with oils.  But the mess and the time means that kind of painting is on hold.

Except for when Niall asks for a picture of one of the kids for his birthday.  I love painting, but seem to stress out over the painting and getting the colors right.  To counter the stress, I eliminate the color element.  And just use one tube of color and one tube of white oil paint.

There are four basic steps.  

1.  Take a photo.  The more contrast and better the lighting, the better.


2.  Draw, sketch, or in this case trace (with a projector) the picture onto a canvas.  I also adjusted the photo, upping the exposure and shadow and printing it out in black and white.  (Or black and pink, since we're out of white paper.)  The main thing is to get the different shapes the shadows make.


3.  Set up a palette with a spectrum of tints and shades from darkest to lightest.  Then start painting the darkest shadows, slowly working to the lightest until there's only white left.


4.  Keep working on the painting until it's finished.  Or, as is the case with pretty much every picture I've ever painted, finished enough.


I did manage to keep the painting a secret for weeks.  But slowly I slipped up the surprise.  (Come on, finding time when Niall wasn't around and the girls were sleeping was pretty rare.)  First I left out the mineral spirits.  Then one night it was the paint brushes.  And a few days before his birthday, he left the house and walked in on me pretty much finishing the picture.

Guess what?  We got planning permission yesterday for a loft conversion.  Hoping to start it before the end of this month.  More later.

Sunday, August 25, 2013

Converting the Bomb Shelter (Air Raid Shelter)

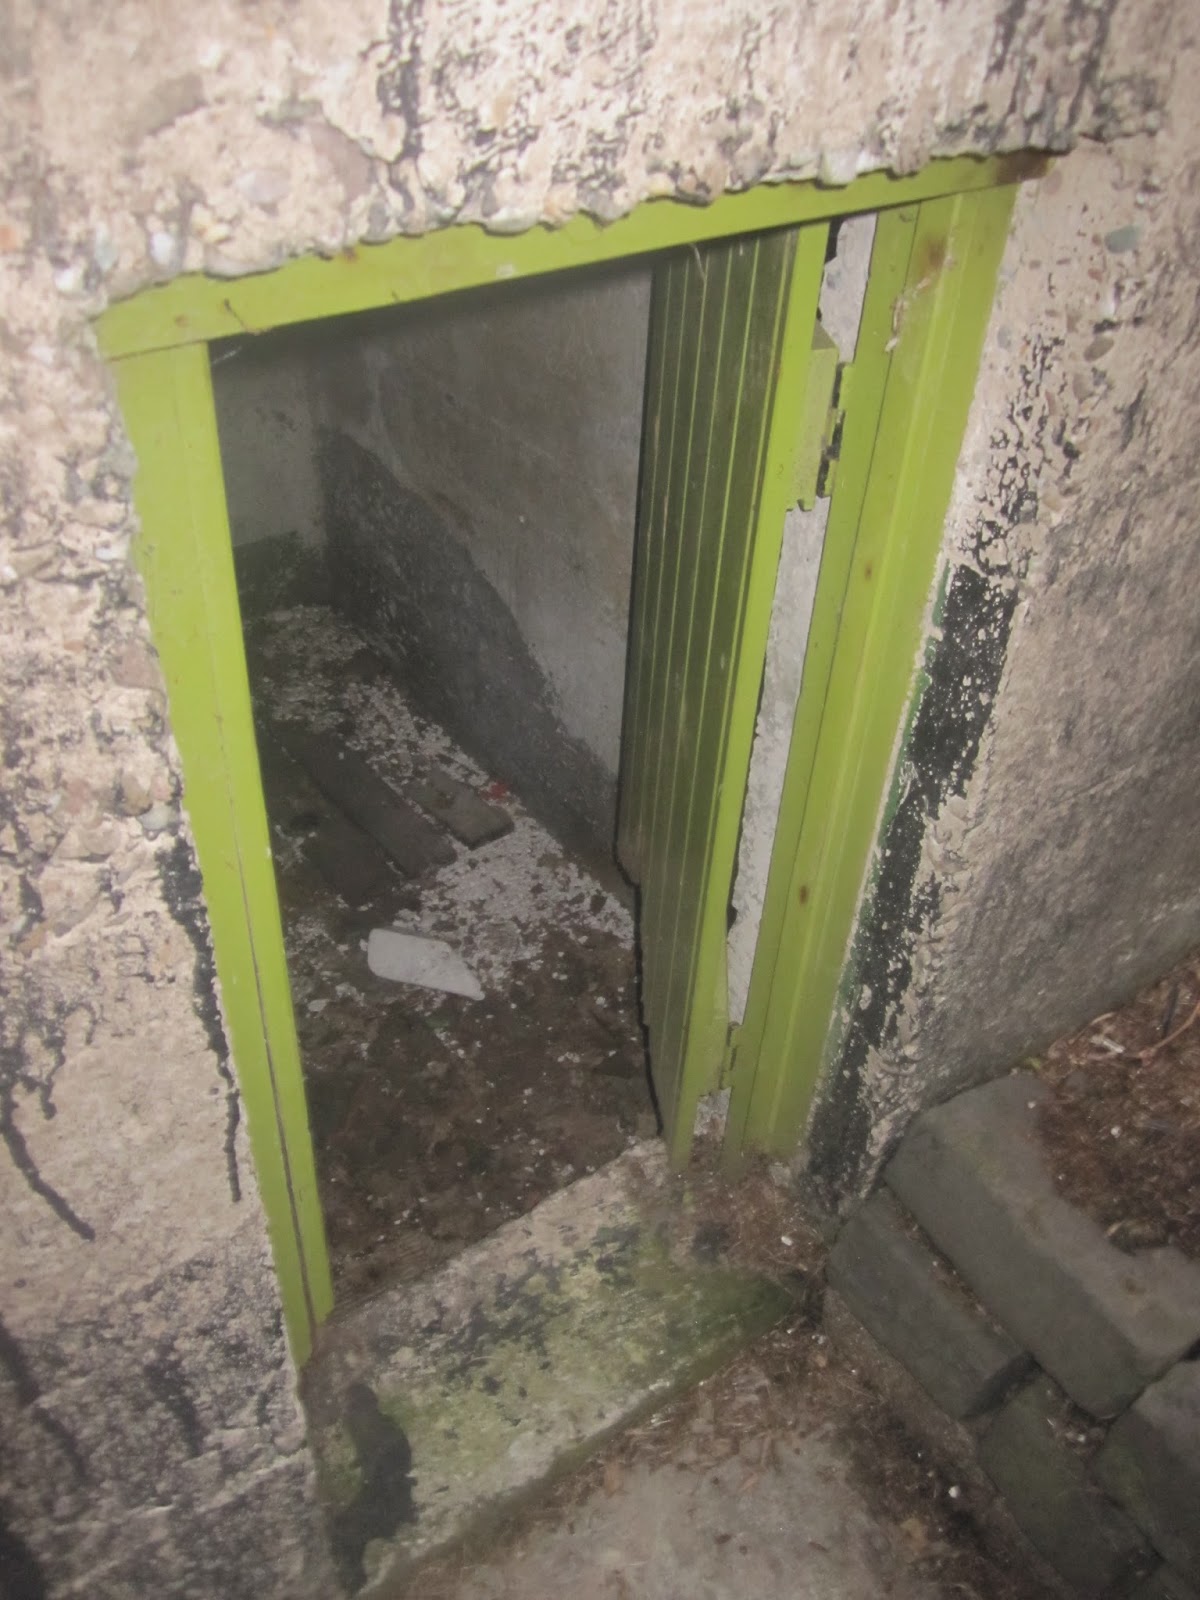
When we first saw the house, we thought there might be an outbuilding under all the overgrowth in the backyard.  After talking to the neighbors, we found out there was a genuine WWII concrete bomb shelter.  (Though they keep telling me it's called an air raid shelter.)  This isn't an Anderson shelter, it is a full-on concrete bomb shelter with a baffle wall.  Here's a photo of what it looked like when we finally made it through the overgrown back garden and got a semi-proper look.


Since the focus has been on the house, it has taken a while to get around to the bomb shelter.  We initially cleared out all the junk (there was a rusted car door among loads of other pieces of useless junk!  But I did save a sewing box crate.  More on that later.)  The post has been a long time coming and is rather long, so sorry for the ramble!

Clean-Up

I started a massive clean-up project of removing overgrowth, about a ton a rubble and a wasp nest from around the shelter.  It was physically demanding work (and a little scary) but finally got the area cleared.


That's when I started looking inside the bomb shelter.  We'd talked about doing something to the shelter down the road...like making it a super small/weird man cave.  Or kitting it out to be as-authentic-as-possible to what it would have been like in the 1940's.  At any rate, Niall and I both see it as a kind of amazing piece of history, so we didn't want to remove it or change it structurally.

Our electrician surprised us by putting in a light and a plug.  And I started to think it was kind of a shame that the bomb shelter was sitting empty.  I realized it's actually a pretty sturdy little building, despite the floor being disgusting.


The door (I kind of think it's adorable) rotting away.  There were all sorts of bugs living inside and a few frogs.


New Floor and Paint

I cleared out all the rubbish, swept, vacuumed, swept again, scrubbed with bleach, and ended up with this.


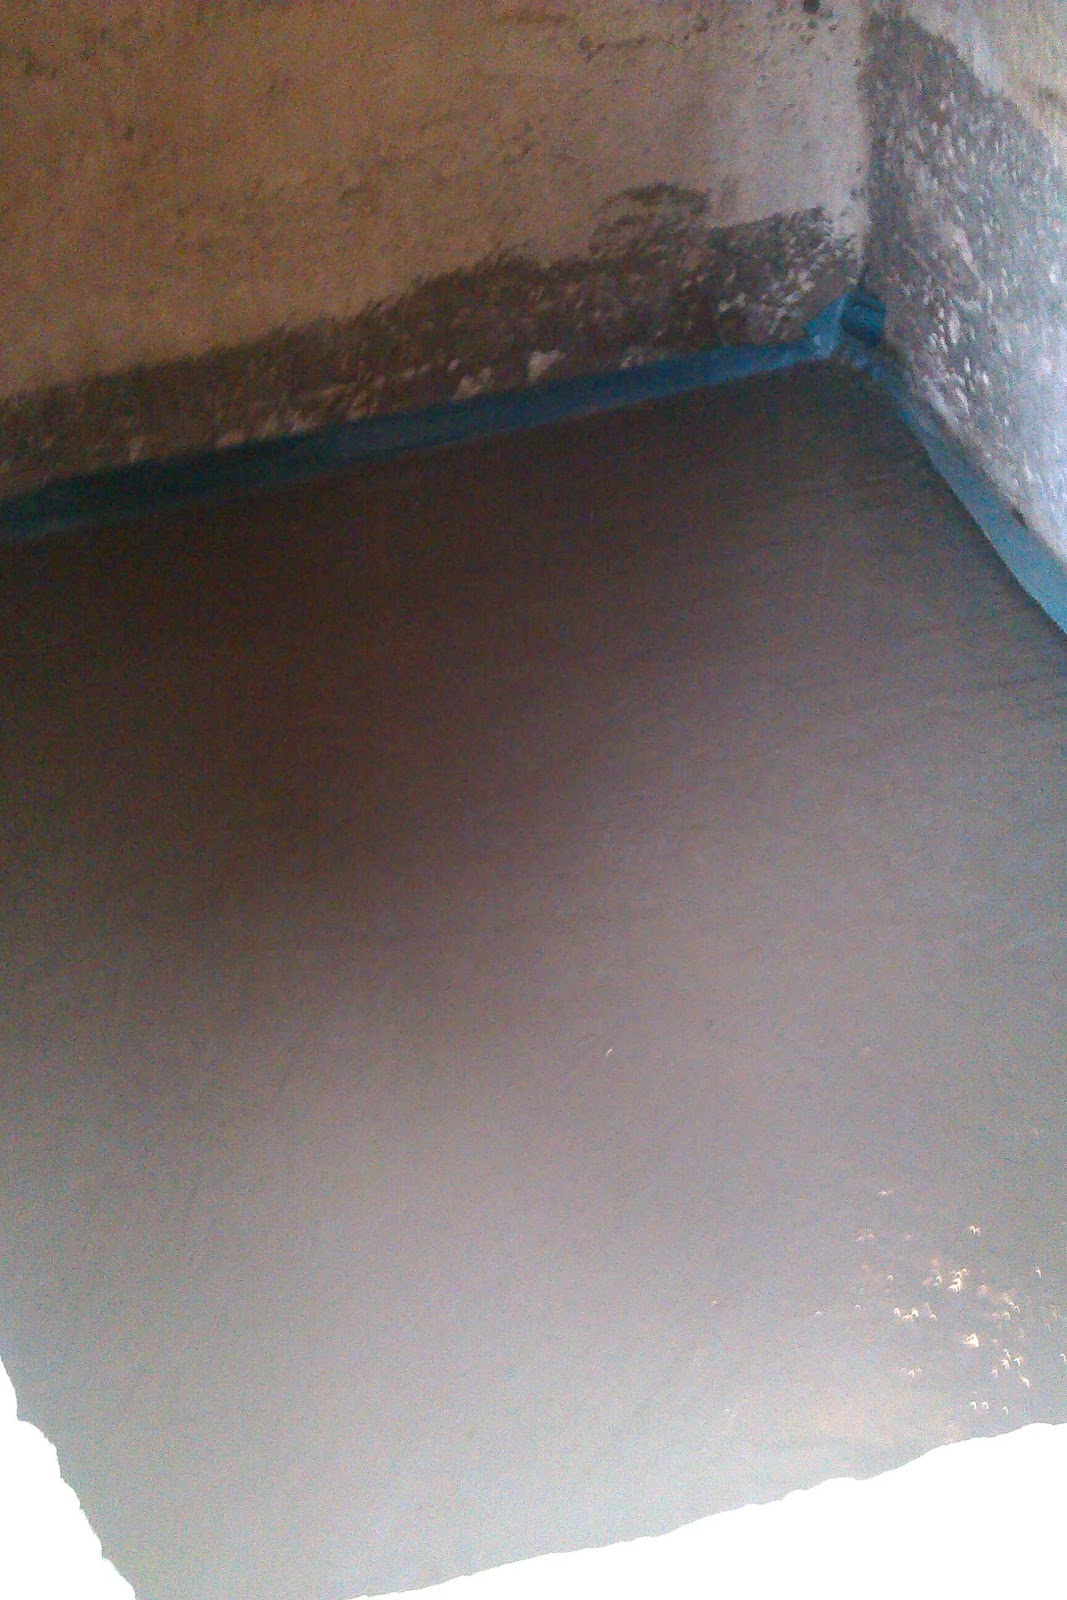
Since the shelter's concrete floor is laid directly into the dirt there is rising damp.  I did a lot of research and talked to as many folks as I could think of to find a solution.  Our go-to builders are all tied up with jobs, and I we wanted to keep costs down.

Long story short, we ended up renting a cement mixer and getting a quarter ton of concrete (four bags aggregate, four bags sand and one bag of cement.)  I laid down in a damp proof membrane and then did my best to mix up a cement floor.  (We were going for a 55mm thick slab, as I'd read that's what we'd need for this type of project.) 


I am a concrete know-nothing, so I called my brother for some help.  And talked to a few guys at the building yard.  And watched a lot of youtube videos.  I poured the floor, leveled it with a long board and level, and then used a trowel to smooth.  My brother had told me about 'cream' that rises when cement is laid.  I loved that tip; when I initially poured the concrete it was a rocky mess.  But, sure enough, the cream made its way to the top so I could smooth the grey liquid over the rocks. The floor ended up okay-ish.  I was actually quite proud that we managed to get it in, and get the yard cleaned up from the massive cement making mess!


Painting inside was a bit of a trick.  I called several paint companies to see what they recommended using to paint a 70-year old concrete cell.  Several told me they didn't make anything suitable.  Dulux recommended their cellar paint, primed with a few mist coats of vinyl matt.  The cellar paint is about £80/tin.  So instead, I got a can of mis-tint vinyl matt and a mis-tint can of their exterior masonry paint.  I love mis-tints.  It was £15 for both.  The colors weren't exactly what I wanted (ie. white) but since they were about £90 less than what I'd pay retail, I decided it was okay.  The masonry color looked grey outside but light brown in the bomb shelter.

The area isn't big, but we used almost 20 litres of paint (and that's with two coats of the vinyl watered down.)  I say 'we' because a certain three-year old was very keen to help.  And help she did!  The concrete was almost like a sponge and took so much paint!  (You can see the newly-poured floor below.)


We ordered some yellow vinyl flooring.  And since it looked so rough around the edges, I put in some skirting.  Since the walls aren't flush, neither is the skirting.  And I'm going to have to do some touch-up and fill the gaps.  But it will do for now.  Hopefully the damp proof layer and paint will work against the elements.  Check back in a few years!


Door

The trusty green wooden door, as I mentioned previously, was rotting.  Not just the door, but also the frame.  The structure is fairly similar to a gate, and since I made one of those I thought I could handle a smaller version.  But as we talked about it, we realized having a door with glass would really help to lighten things up.


For weeks and weeks I looked for a used wooden door with glass (or glazed) that we could cut down to size.  I'll spare you the details, but let's just say that I looked a lot of places and no luck.  

One day the girls and I drove out to Yooz (it's kind of like Restore, a big charity that recycles building materials) and found some wooden window that I thought maybe would work.  As luck would have it, they were giving wooden windows away on the day we were there, so they were free!  Our joiner is also completely booked, but he talked me through some basics on how to make a door myself.


I removed the fixings and used the Kreg Jig to attach an extra piece of wood.


Then I drilled some holes and chiseled (poorly!) a space to put in a tumbler latch.


And put in a new frame, then attached the door and painted it.


We had a few spare door knobs that I put on the new window/door.


Ha!  The one year old it pleased with her new play area.  We cleaned it again and scraped the paint from the window.


Glue is so tempting!


We got a little step stool from Ikea since there's a drop from the door to the ground.  The door has gaps, the skirting has gaps...things aren't perfect.  But they're good enough for now.


So just for a quick recap...here's what it used to look like.


Hopefully the girls will find the bomb shelter a fun play area...and maybe in time Niall will get his man cave after all!

Cost Break Down-

Concrete Mixer/Concrete/DPM:  £71
Paint:  £15
Vinyl Floor:  £21
Door hinges/hardware/wood:  £28
Skirting/Adhesive:  £14
Total:  £149