
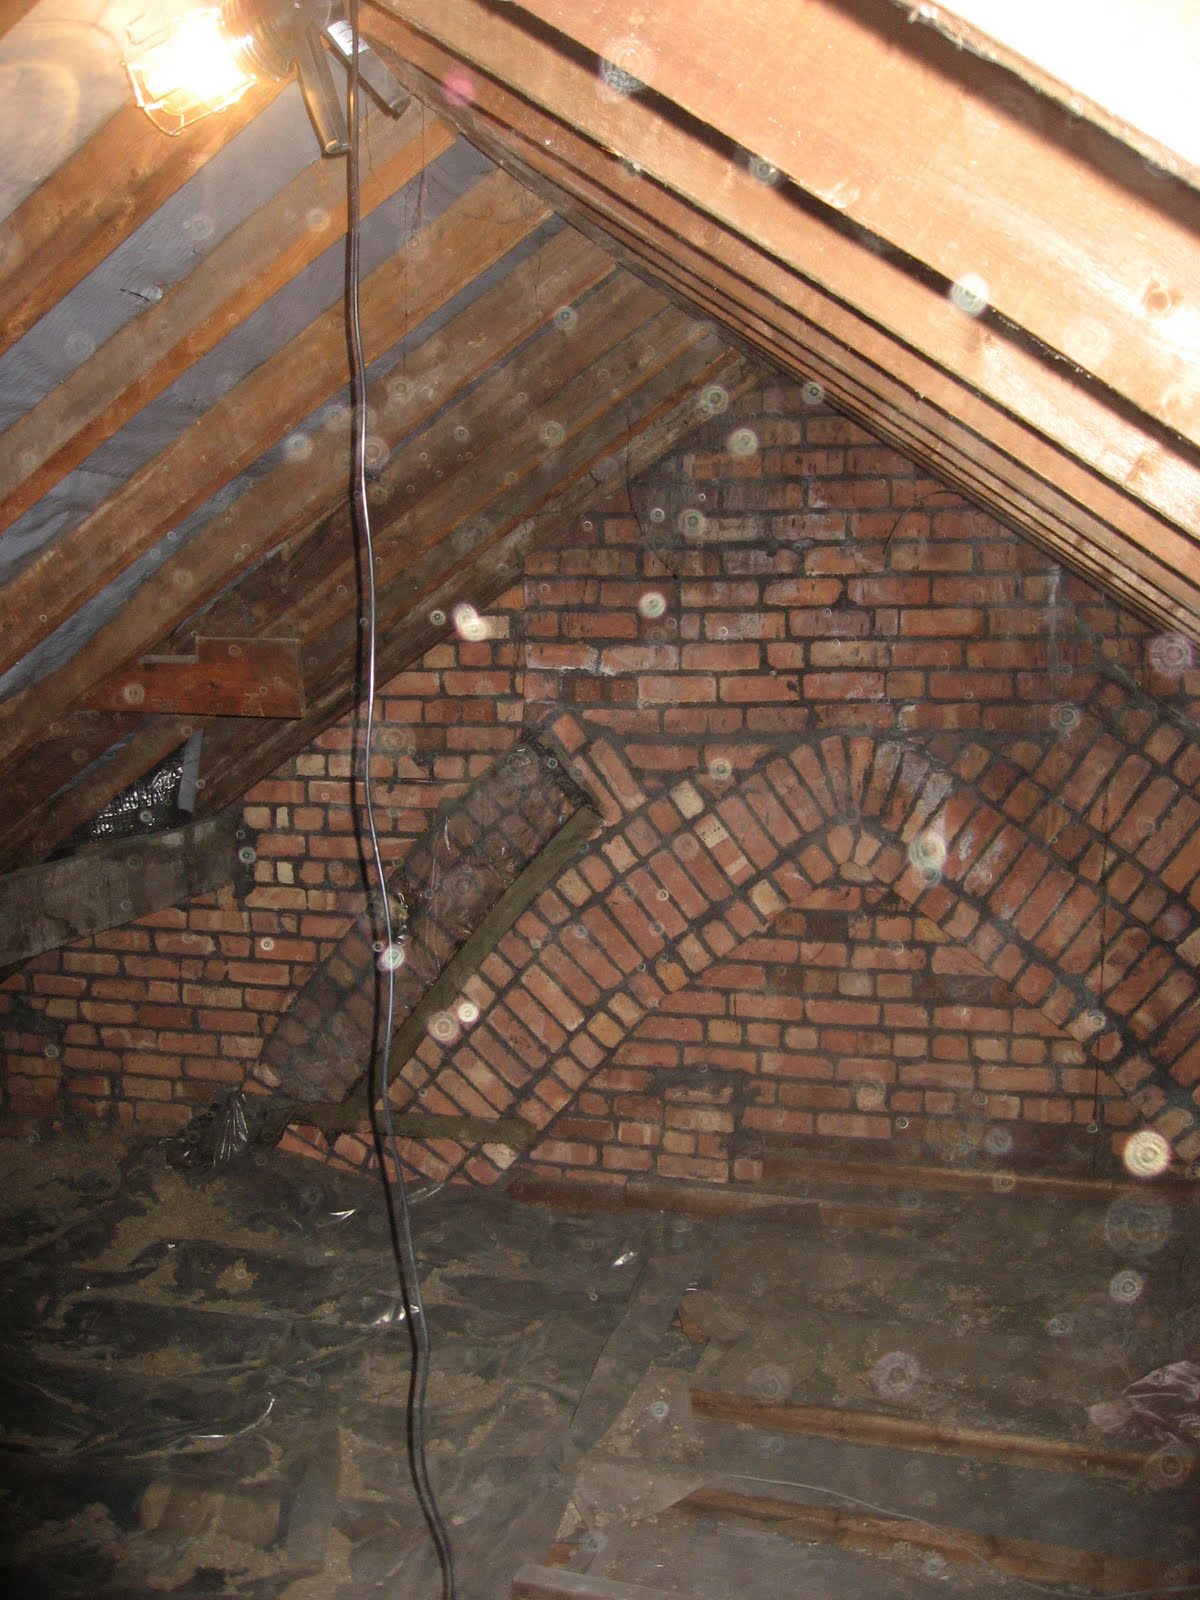
In the Loft Conversion Part 1 the attic went from this
To this

That was the hard part of the renovation and it took all of our money. We focused on getting the rest of the house unpacked and in order. For the past few months we've been putting all the items without a home in the loft.
To get the attic finished, we sold anything we could think of (including some GS stock I was saving for a rainy day) to raise the extra money. I love ebay. It's amazing how much we sold and what people were willing to pay!

We got a carpenter in to put in skirting/baseboards, doors to cover the storage under the eaves and shelves. The carpenter would work during the day and at night I'd paint. One day the missionaries from church came and helped and pretty soon the loft looked like this.

Almost done, but so much stuff to unpack. Including boxes and boxes of books.


We don't have enough cash for proper flooring, so we decided to sand and paint the chipboard that makes up the loft floor. I started by taping, cleaning, filling holes and seams, sanding and painting the edges. This took a long time because there was so much plaster that needed to be cleaned off the floor. And the sanding! I only did a light sand to smooth the chipboard, but I did it by hand. Major workout. The first coat pulled up the wood fibers so I did a light sand (by hand again, after cleaning sanding dust for months I'm done with electric sanders inside) and did a second coat.

Most of the boxes upstairs were books. The shelves the carpenter put in were not sufficient (Niall has A LOT of books) so I made bookcases. The space was a really awkward size and I couldn't find any pre-fab bookcases that would fit. Plus it was less than 40 pounds to make them myself using furniture board.

We unpacked the books.


And went through the rest of the boxes, and suddenly (you know, after hours of working on it) the loft floor was clear.

I did more cleaning, scraping, filling and sanding.

Originally I wanted to do a stencil but Niall wasn't sure about it. I know it was our choice to do so much work on the house ourselves, but I'm pretty sick of it. Plus the stairs still need to be finished. So no stencil right now.
I may have shed a few tears as I finished prepping the floor to paint. Prep work for painting takes so much longer than painting!

Niall stepped in to paint the rest of the floor. We used Ronseal Slate Floorpaint and I was so happy it didn't make me vomit. (Since I have problems with solvents I tried finding an eco-friendly version. But floor paint needs to harden, and solvent free eco-friendly paint would not do.)
As a side note, Ronseal was so helpful. I called them before painting to check that our process would be okay and didn't need a primer.

Here's the final product, a rather empty room with a lot of books. We're pleasantly surprised at how nice the painted chipboard is. The plan is to find a desk that Niall loves and make this the office. And in time, a guest room. So, seriously, who is coming to visit?
6 comments:
That looks amazing! When do we get to come stay the night in the loft?
Wow that looks amazing!through this sits we get the information about the loft conversion.
Roofing Contractors
i honestly can't believe how handy you two are. it's killing me. (because i have no talents).
Just stumbled across your fab blog post as we're planning to paint the chipboard floors in our chapel conversion temporarily until we decide what floor finishes we want (and we have some more money ��) Can I ask how the Ronseal held up? I was intending to use PVA as a primer, but looks like you didn't need to, which would be great! Sanding doesn't look fun though...
The Ronseal held up really well for the time we were in the house. We ended up moving about 18 months later, so I don't know how it is now! (i would use the product, without primer, again.)
Thanks for giving great kind of information. Very useful and practical for me. Thanks for your excellent blog, nice work keep it up thanks for sharing the knowledge
House Renovations in Vauxhall
Post a Comment